Creating Garmin Explore Tracks
One of the first things I found when trying to create a track that I could use on my Zumo XT was that there isn’t any easy way to do it, the Garmin Explore web interface is good for managing your assets (waypoints, routes, tracks, etc) and works ok for creating easy point-to-point tracks/routes but isn’t great for more complex track creation.
After a lot of trial and error, I’ve found that the following workflow works best for me when I’m mapping out a new trip.
What I’ve found is using Google Maps works best for me when mapping out a route that is along roads, even when they are back country dirt roads, as long as Google Maps shows them when you zoom in you can use it to create your track for your Garmin Zumo XT (or any Garmin that syncs with Garmin Explore) and I’ve found using Google Earth works best for creating an off-road route.
Creating a on-road route
The first thing we need to do is create a Google Map that we can save
- Go to your saved Google Maps page https://www.google.com/maps/d/u/1/ (you will need to sign into your Google account if you are not already)
- On the top left of the page click the “+ CREATE A NEW MAP” button
- This will open what looks like the normal Google Maps page with a few differences
- Click the “Untitled map” title on the top left and name your map
- Click the add directions icon that is under the search bar

- This will create a new “Untitled layer” that says “Driving” with a “A” and “B” section
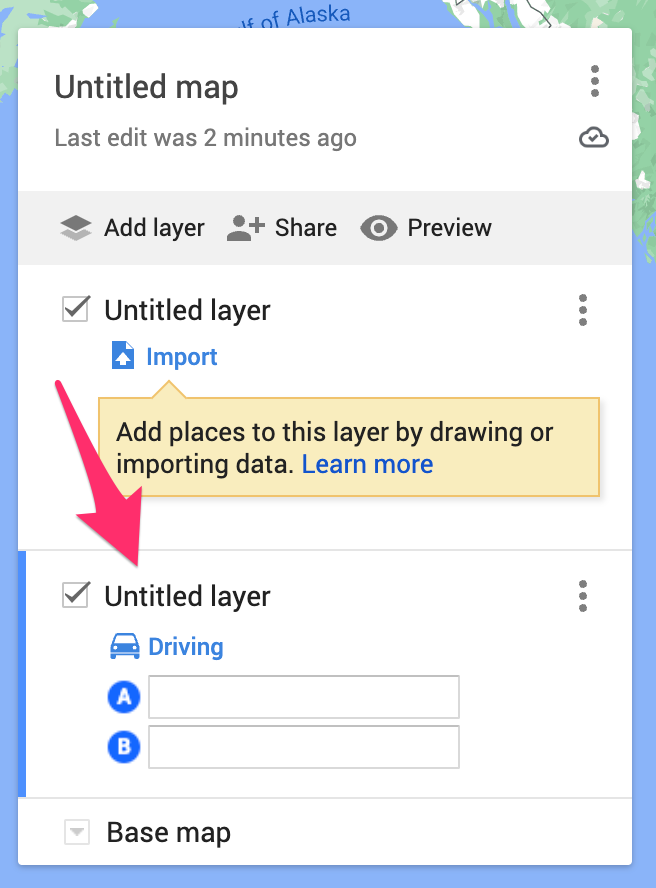
- You can now set the “A” (starting location) and “B” (next stop location)
- After you’ve added a “B” location you can add more stops and it will map them out for you
- Now lets say you don’t like the route it has chosen for you and you would prefer to take another route, you can drag the route line to the route you want to take you just have to make sure you are zoomed in enough to see the road you would prefer to take
- After you’ve mapped out your route you can save it as a KML file that can be imported into Garmin Explore, to do this click the 3 vertical dots next to the title of the map and select “Export to KML/KMZ”
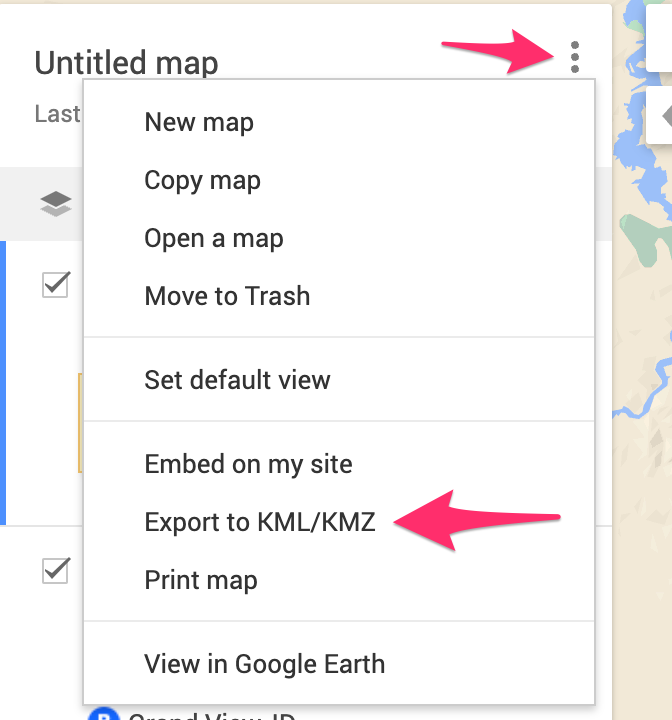
- On the Export popup select the layer you want to export, don’t do the entire map, keep the other checkboxes unchecked
- Click the download button
- To import it go to the Importing section blow
Creating an off-road route
You can use Google Earth Pro to create on and off-road maps but I prefer to use it for off-road routes.
- Open Google Earth
- Create a new folder under My Places by right-click on the “My Places” folder, selecting Add -> Folder
- Name the folder
- Select the folder
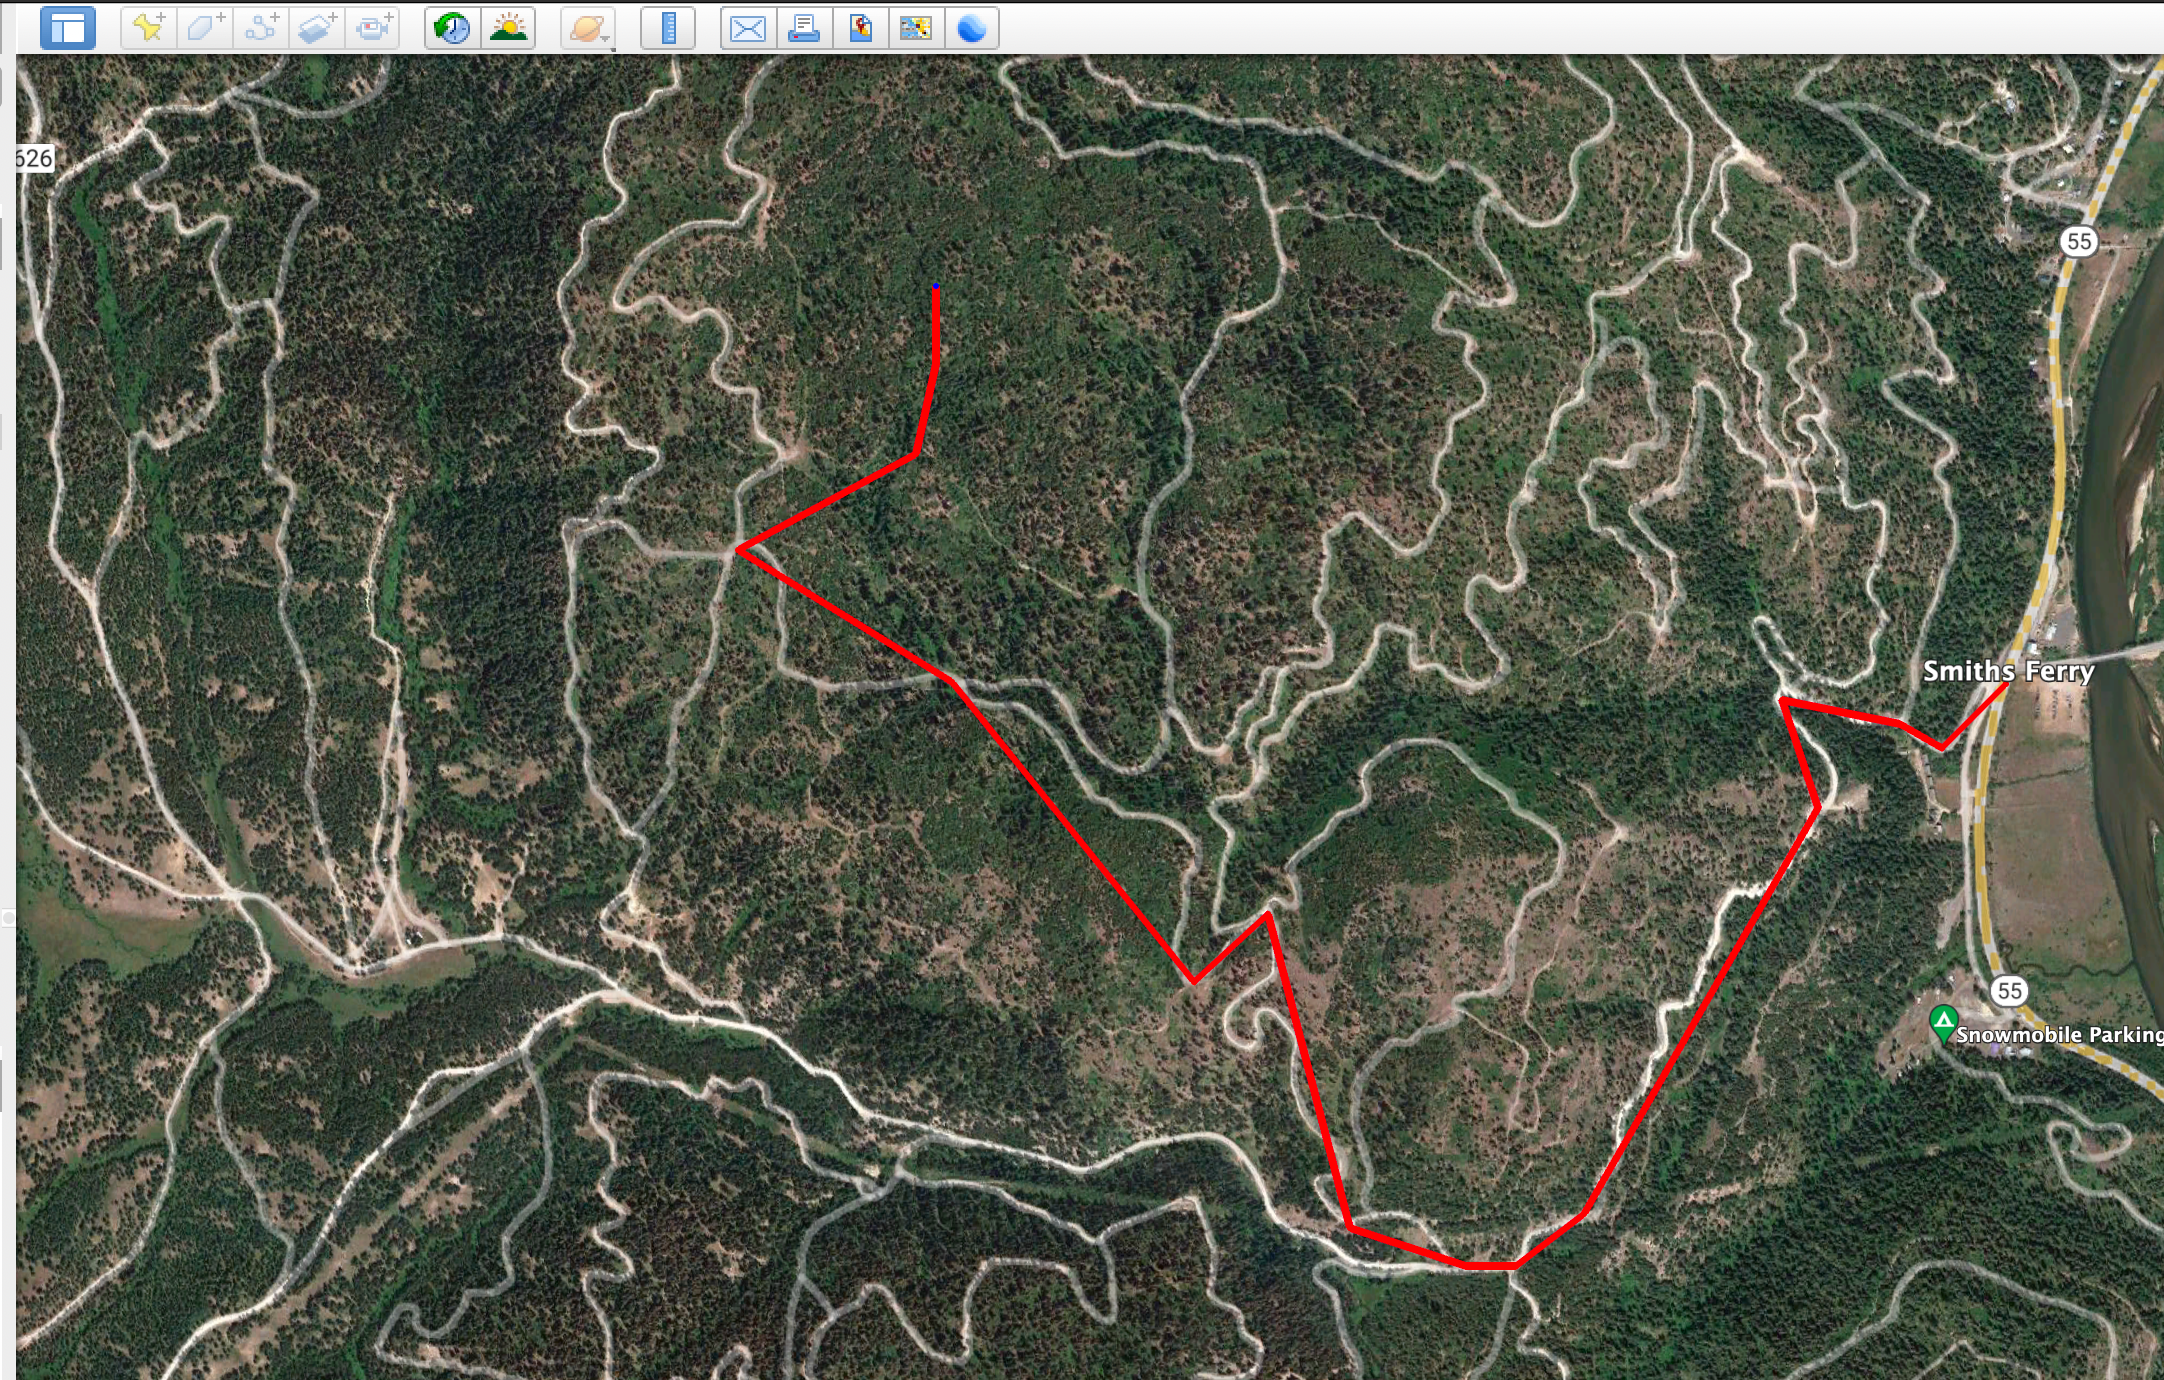
- Click the “Add” menu and select “Path”
- With the path dialog open click on the map where you want to start from and then start clicking at each point on the map you want the route to take you
- You can create multiple paths and export them all and individual tracks
- To save as a KMZ file, select the folder or path you want and click the “File” menu “Save” -> “Save Place As…”
- Name it what you want and select “Kmz (*.kmz)” as the file type to save as
- Save the file and move to the Importing section below
Importing into Garmin Explore
Now that we have a KMZ file we can import it into Garmin Explore and then sync with your Garmin GPS device
- Go to https://explore.garmin.com/ and login
- Browse to the “MAP” tab
- On the top right of the “MAP” tab select the import button, it looks like a down arrow

- On the Import Data popup select “Import As Tracks” and click “Next”, I’ve found using a track is works better then using a route but you can read about the difference here
- Select the collection you want to add the imported track to and click “Next”
- Upload the KMZ file you created and select the “Import” button
- And you are done, you should now be able to sync your collections with your Garmin GPS and the new track should show up and work
Leave a Reply