Fixing a SICASS Universal Multi-Function Bar Switch
Last week I noticed that my high/low beam switch on my Sicass Multi-Function Bar Switch wasn’t working correctly. The high beam would be a low beam with the tail running light on and the low beam would be a low beam with the tail running light off. I contacted tech support at Sicass describing my issue and their response was “… it sounds like the rocker for the lights took a direct hit and broke the pivot points …”. Due to the unit being out of warranty I took the thing apart to see if it was something I could fix and what I found surprised and disappointing me.
The unit has two rocker switches in it, one for controlling the lights and the other for controlling the blinkers. The rocker switches are badly designed with a small plastic pivot on each side that is used for the switch to pivot between settings.

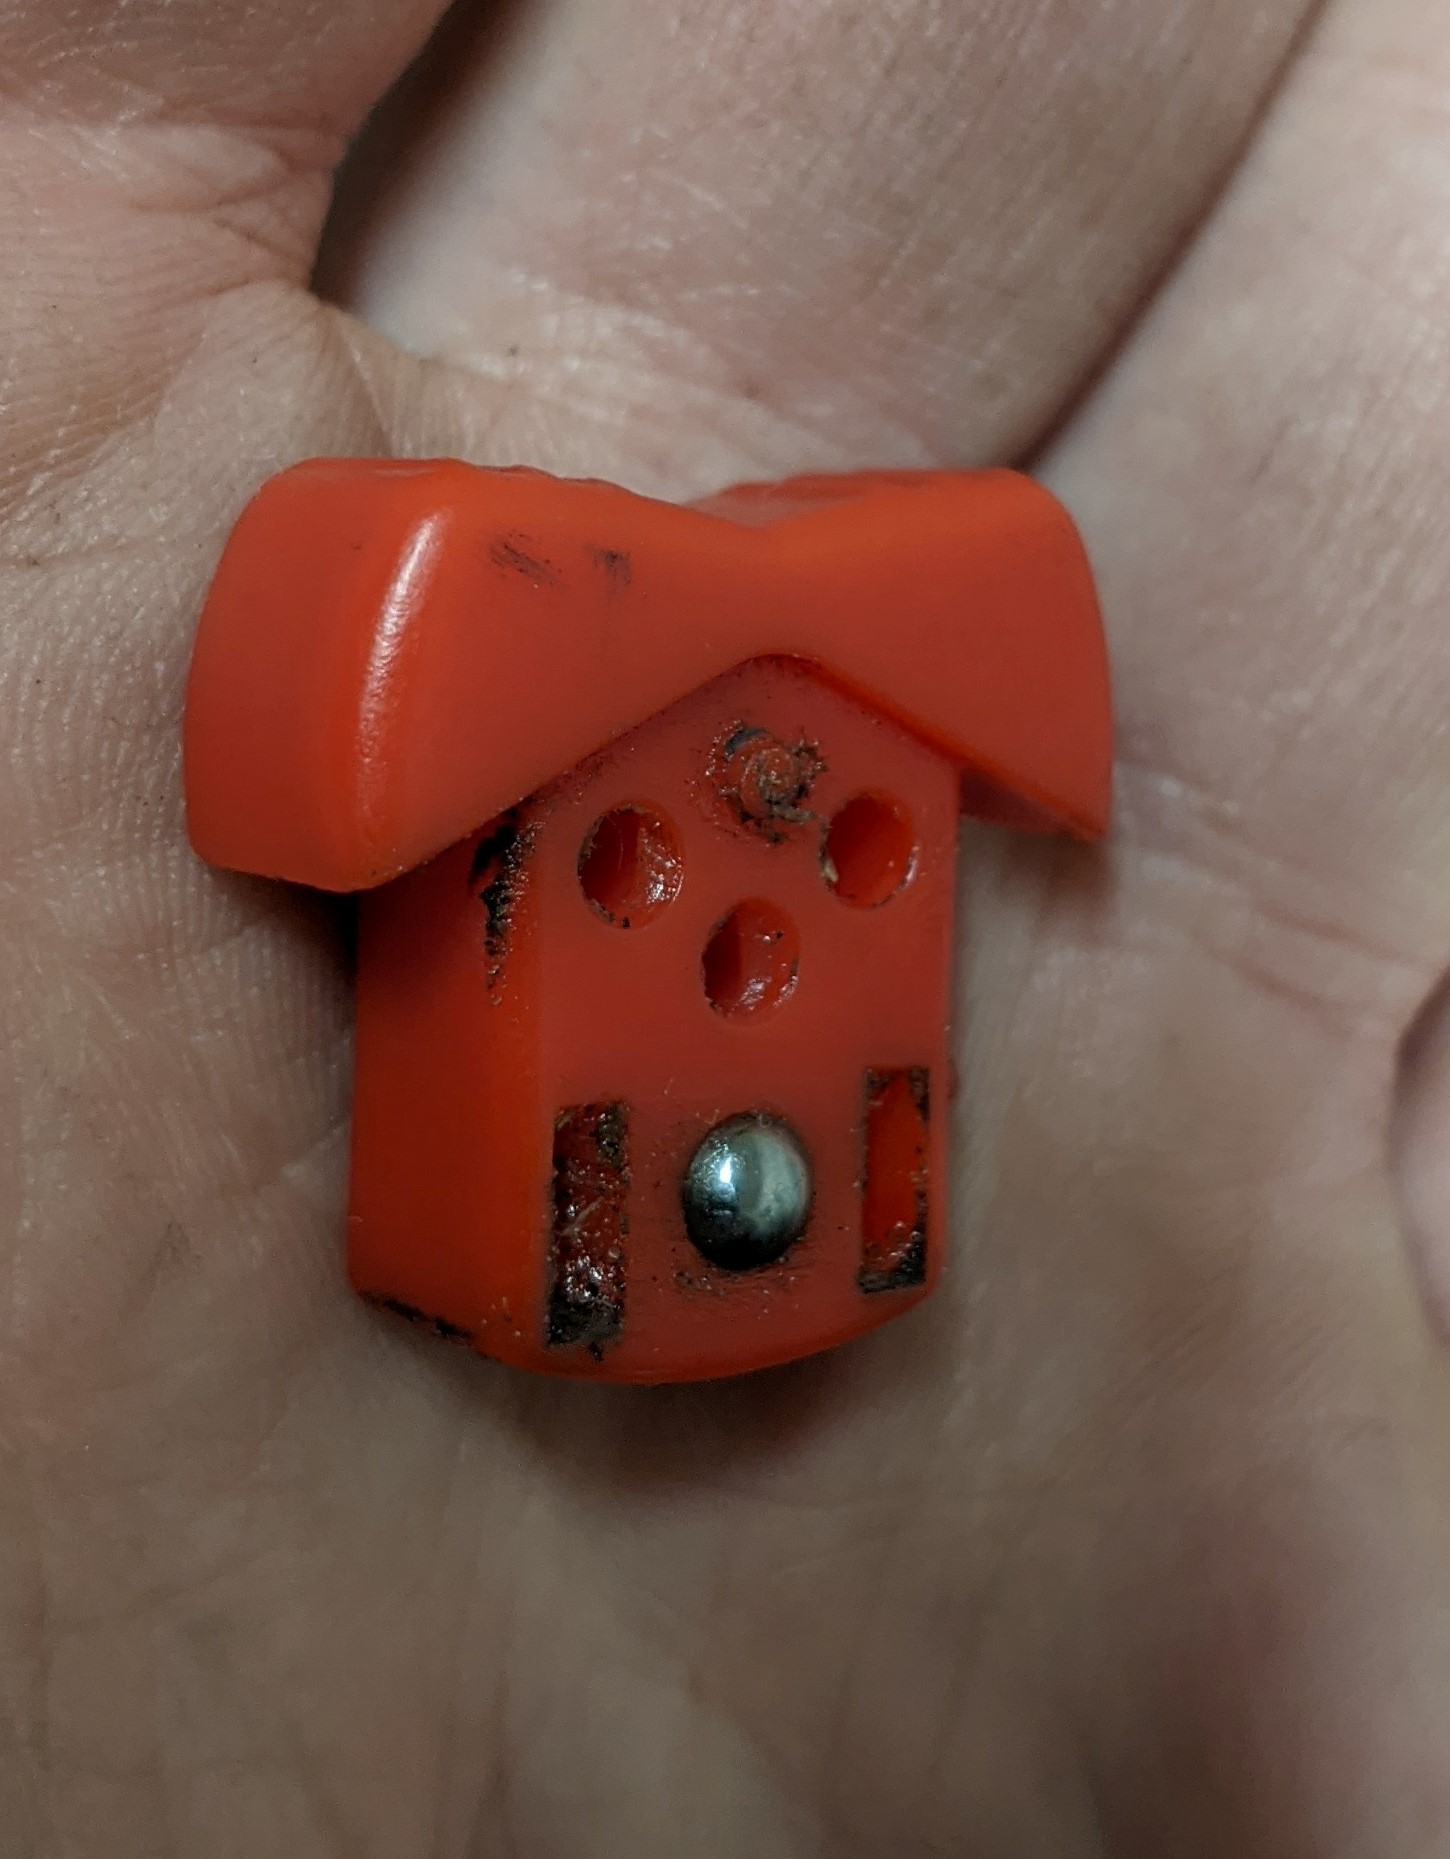
After taking it apart I verified that the issue was the switch pivots were popping out causing the connections to be incorrect. The pivots are so small and I can see that they could easily get worn out causing the unit to no longer function correctly.
The Fix
After looking it over I decided that drilling out the pivot points and running a small bolt through would be a much better solution/design.
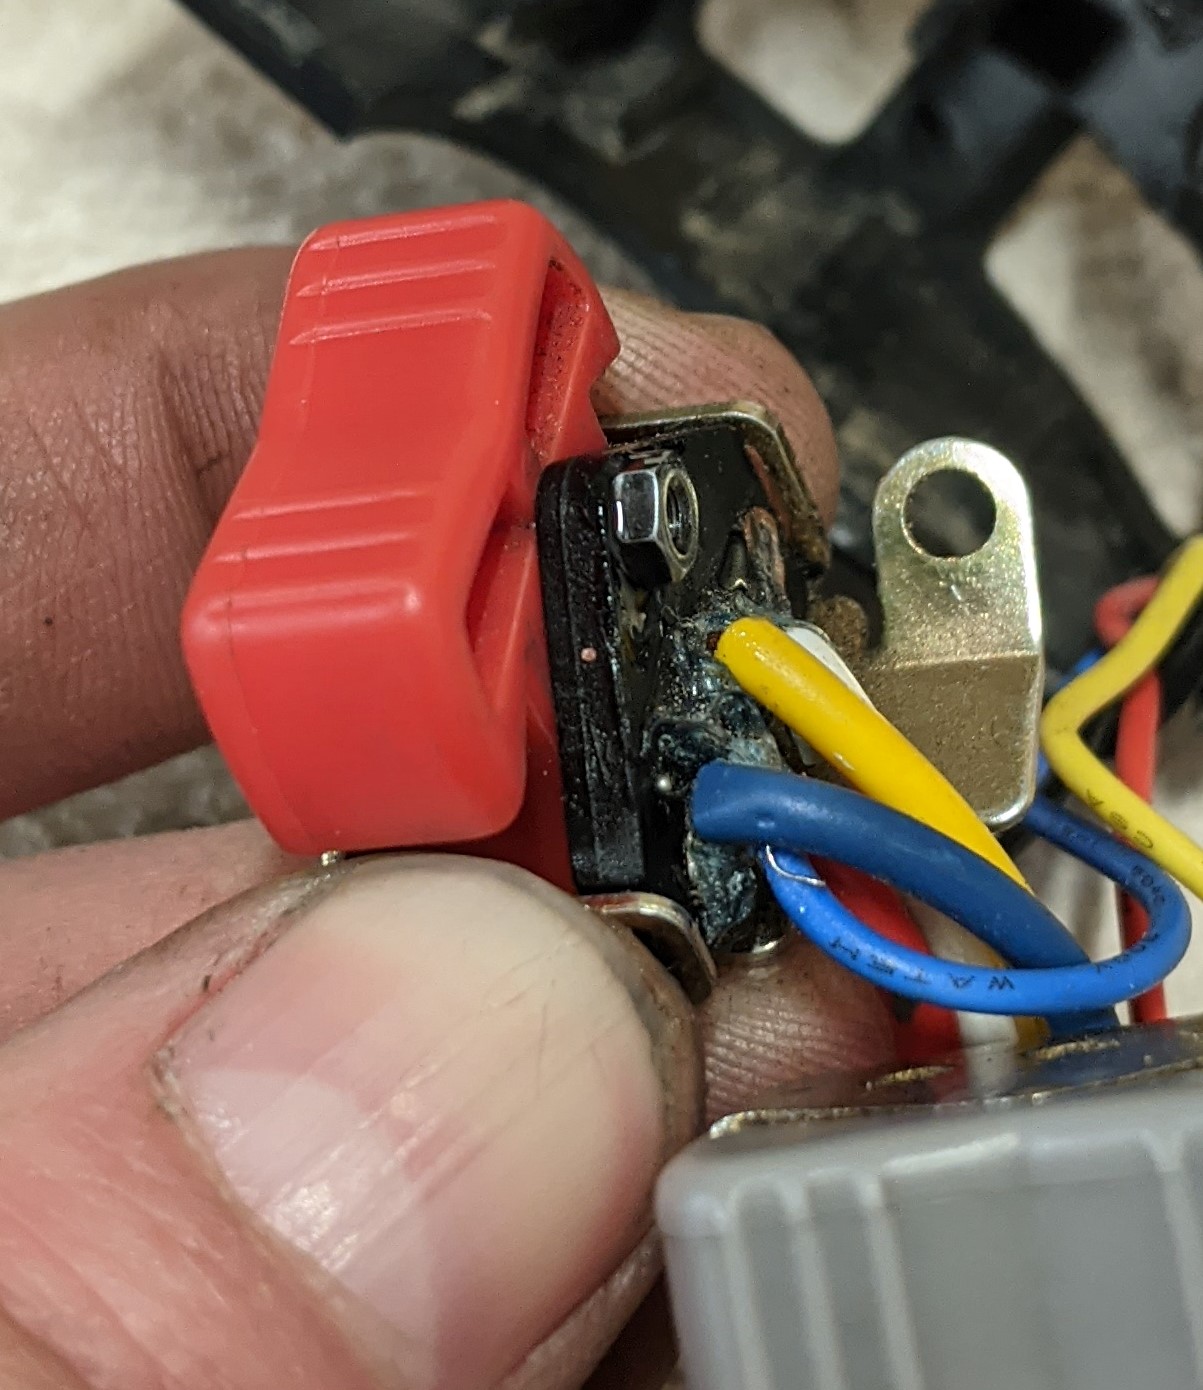
First, take the device apart, it is pretty easy but one thing to watch for is that the horn button has a spring and if you are not careful the horn button and spring will go flying, which happened to me. If this happens to you find a mechanical pen or pencil and some of them have a spring in them that will work, I had to try three different types before I found one that worked.
Next, pull the rocker switch out and then drilled out the pivot points with an M2 sized drill bit. Then put the switch back in and run an M2 bolt through. I used some thread lock and finger tined the nut down and that seemed to do it.


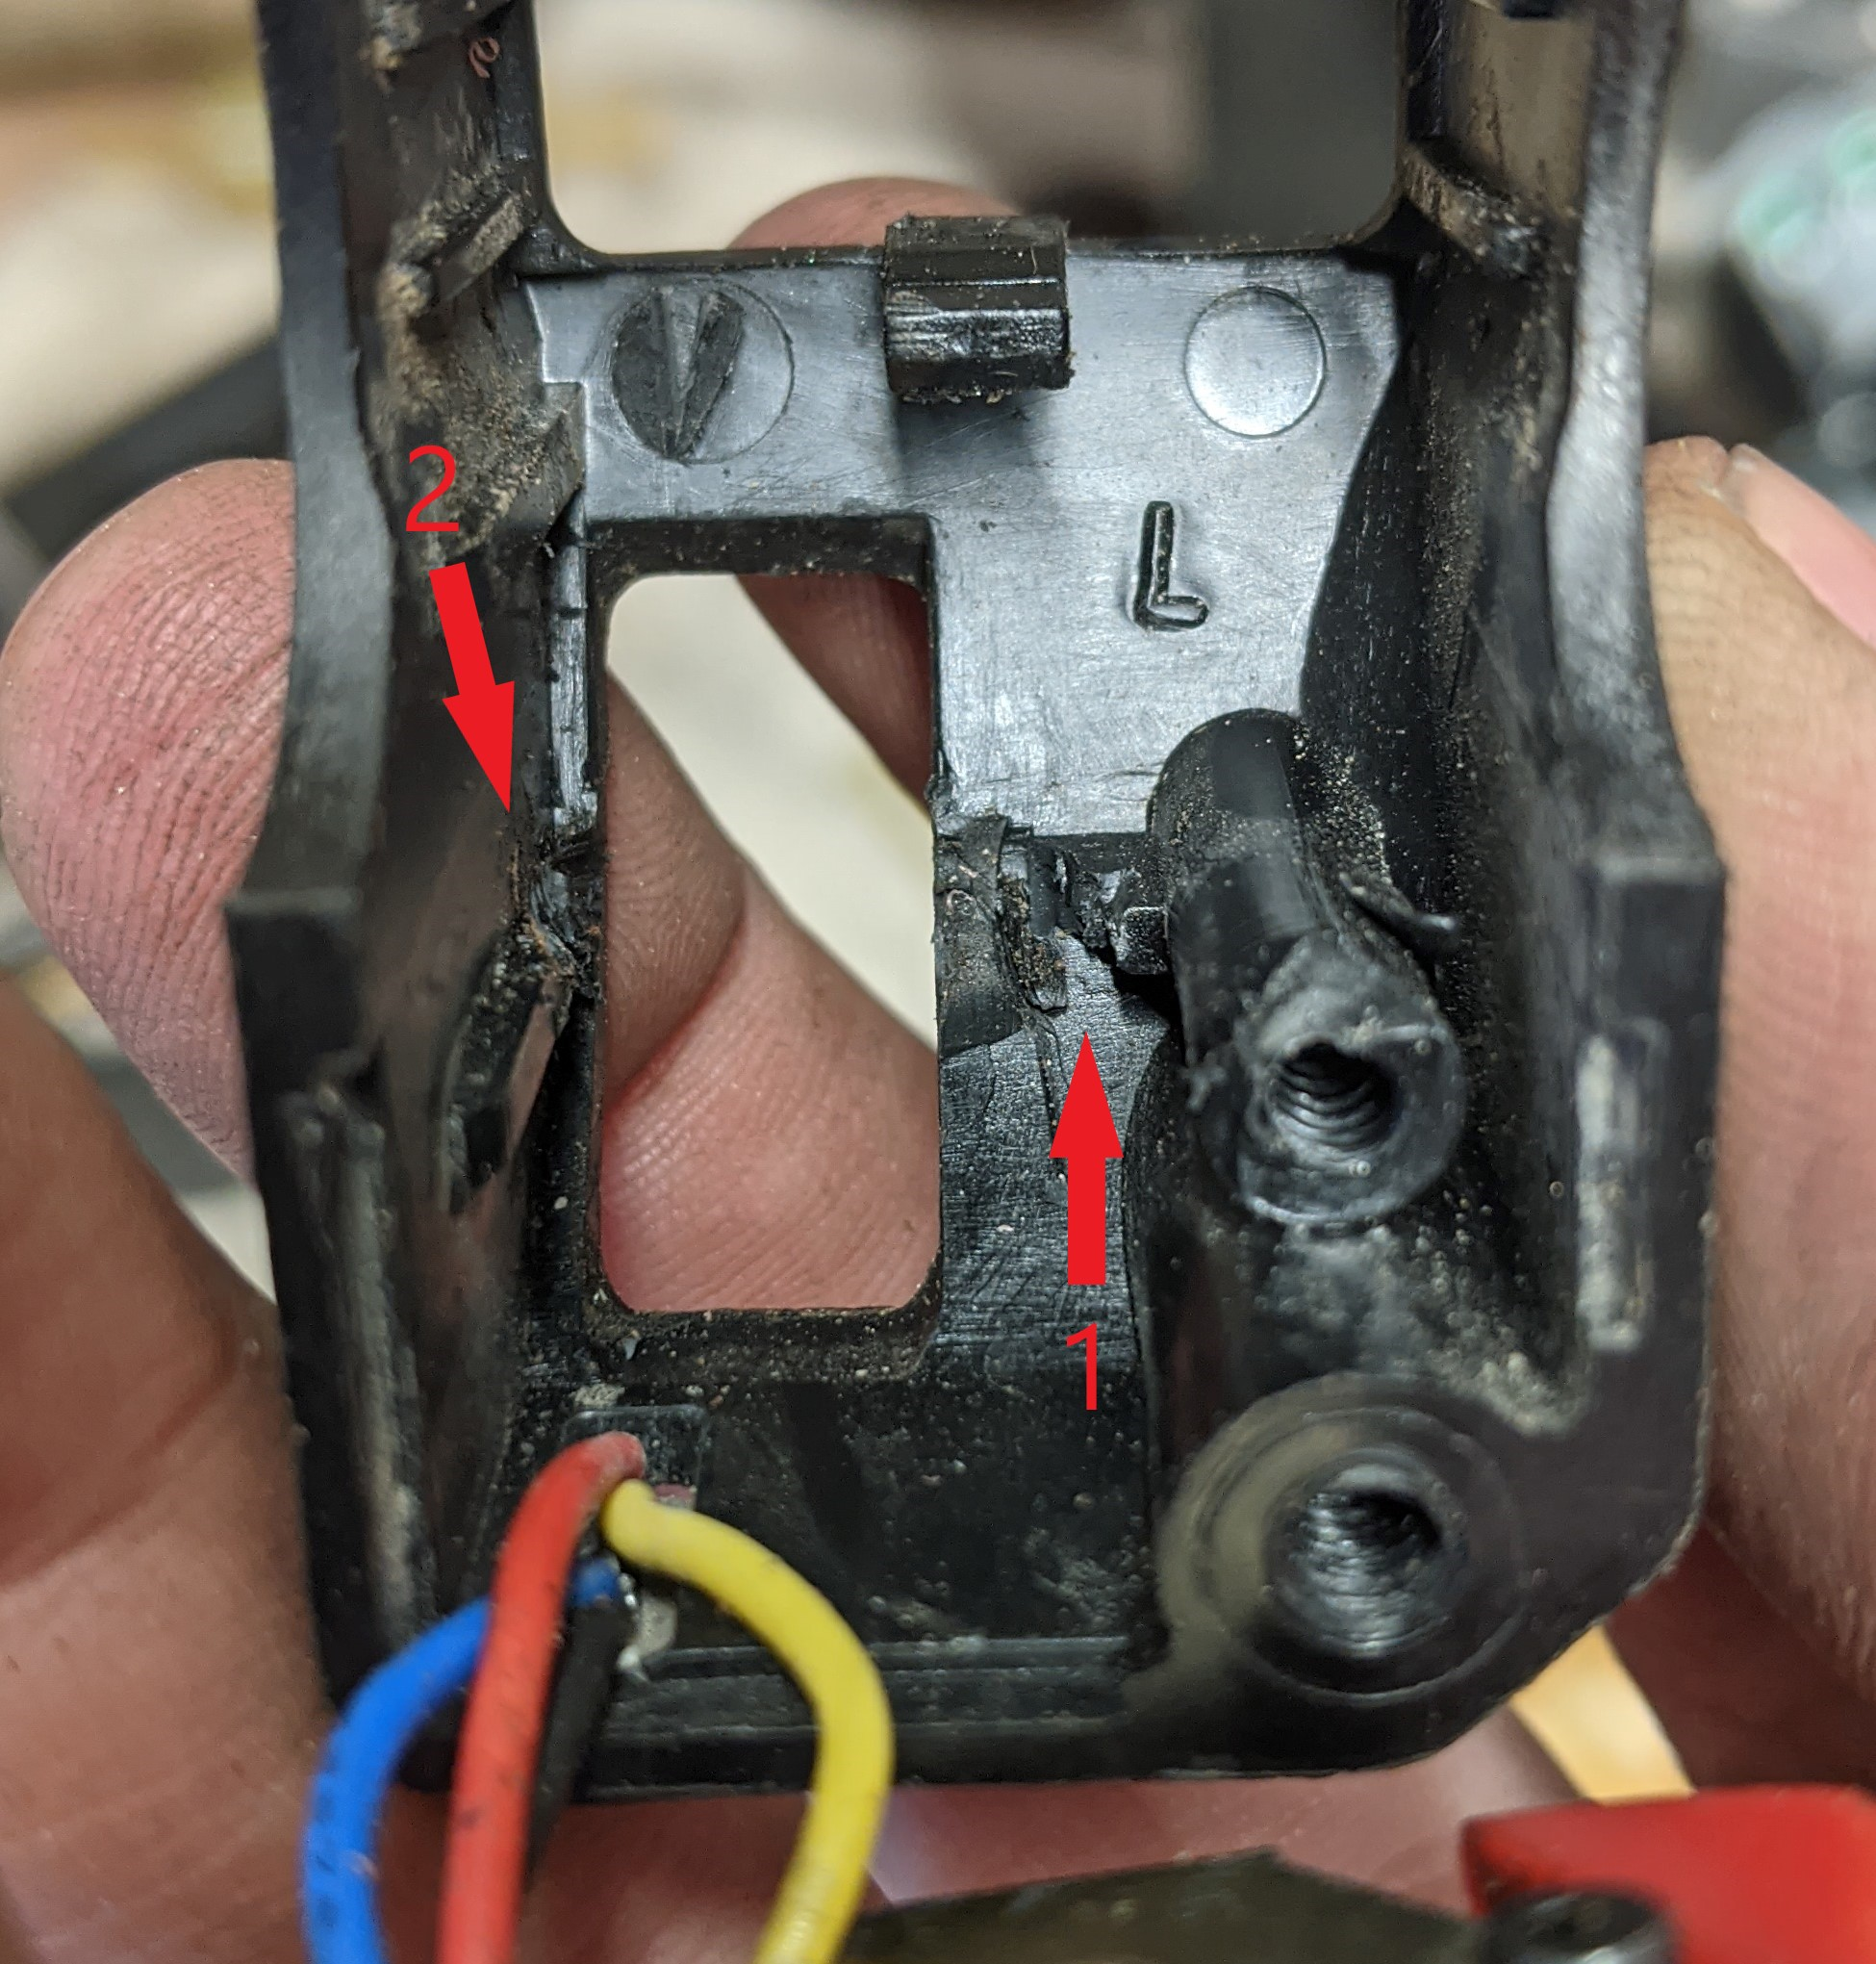
After verifying the fix worked and the lights were working correctly I had to put it back together. One issue I came across while putting it back together was due to the size of the bolt head and nut it no longer fit correctly in the case. I cut out two sections on the case to make it fit.
- I removed the small tab
- I cut out a bit of the case that sticks out
After getting it back together and mounted back on the bike everything worked as expected and it is now stronger than its original design.
Sicass Part # that this should work for:
- 26-040
- 26-042